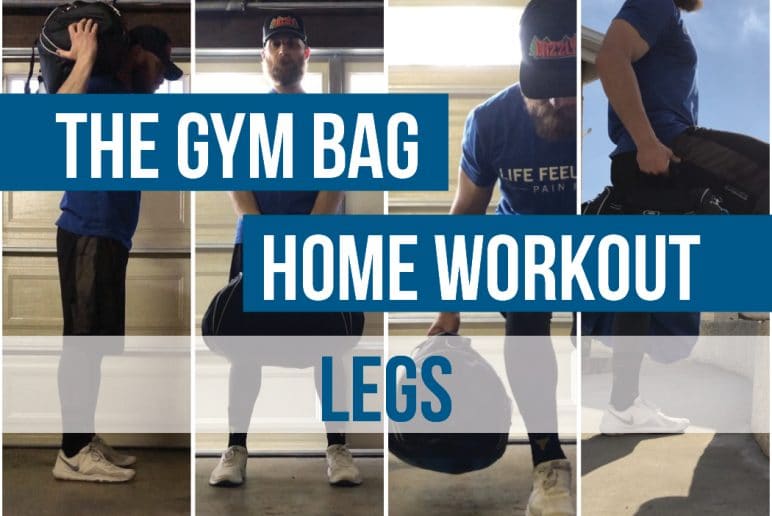
The Gym Bag Home Workout: Legs
March 26, 2020Social distancing is very important in a time like this. We have to make many sacrifices to help our country get through this. The most difficult sacrifice for me has been not being able to go to the gym and perform my normal weight-lifting program. Lifting weights helps me stay healthy, and also serves as a therapeutic device to blow off a little steam.
Unfortunately, I don’t have a few thousand dollars laying around to build my own gym. That made me consider what I can lift at home to help fill that void of lifting weights. I could lift a few chairs from the table, I could hold boxes of sodas/waters, I could take the tires off my car and lift those, but nothing was really making sense nor was it safe. I tried to do some body weight exercise, which were good, but I wanted a little more.
After much consideration, I came up with the perfect solution- ‘Gym Bag Lifting’! I decided to fill up my gym bag with items around the house to create my own weights. The bag has straps and I can use it like a barbell or dumbbell. I can place the bag on different parts of my body to perform most exercises that I would normally do at the gym. This has helped me fill the void of lifting weights.
Now I know this is not the same as going to the gym and pushing some serious weight, however this is a great option to allow me to maintain social distancing and still get my workout in. Following are some ideas on how to create your weighted bag and a variety of exercises that you can perform with your ‘Gym Bag Weights’.
Please feel free to email me (ademonaco@cbphysicaltherapy.com) with any questions that you may have. I am happy to help! Let’s get strong together!
Create Your Own Weighted Bag

Step 1:
Place a towel at the bottom off your bag. This is to create a liner of padding.
- Use a workout bag, backpack, or luggage (something with a handle to grab onto)
- The bigger the bag, the heavier it can be.
Step 2:
Fill your bag with household items.
- Books/notebooks/binders
- Soda/Water/
- Anything that has weight but will not break.
- I suggest smaller items so it is easier to manipulate the desired weight.
Step 3:
Weigh your bag, make sure it’s the desired weight for your goals.
- As you can see, I’m not that strong, so only 24lbs for me!
- You can always use multiple bags if you need more weight.
Let’s Start Lifting!
Following are some exercises focusing on leg strength.

SQUATS
- Start by standing with feet shoulder-width apart.
- Place bag on shoulders behind your neck and hold with both hands.
- Bend your knees and lower your body towards the floor to perform a squat.
- Keep your back straight and hinge at the hips.
- Return to standing position

FORWARD (90/90) LUNGE
- Start by standing with feet shoulder-width-apart holding a workout bag in each hand.
- Take a step forward and allow your front knee to bend into a lunge position 90 degrees. Your back knee may bend as well to 90 degrees.
- Push mostly from the front knee directly into the ground to return back to starting position.

REVERSE LUNGE
- Start by standing with feet shoulder-width-apart holding a workout bag in each hand.
- Take a step backward and allow your front knee to bend into a lunge position
- Keep your back straight and hinge at the hips.
- Your back knee should be straight.
- Push mostly from the front knee directly into the ground, squeeze your gluts and keep your core tight to return back to starting position.

ROMANIAN DEADLIFT (RDL)
- Start by standing with feet shoulder-width-apart with a slight bend in both knees holding a workout bag in both hands.
- Begin to hinge at the hips to lower the bag down
- When you feel a pulling sensation in the hamstrings, squeeze your gluts and drive your hips forward to return to a standing position
- Maintain an abdominal brace the entire time.

STEP UPS
- Start by standing with feet shoulder-width apart holding weighted bag in each hand
- Step up onto stable surface with one leg driving down through the middle of your foot
- Bring opposite leg up to 90 degrees then lower yourself back down
- Maintain abdominal brace each repetition.

GLUTE THRUSTER
- Both feet on the floor
- Place upper back/shoulders on a raised stable surface.
- Place weighted bag across your hips
- Lower your hips down and then squeeze your glutes to raise your hips back to neutral
- Maintain proper abdominal brace with each repetition.

HEEL RAISES
- Start by standing with feet shoulder-width apart holding weighted bag in each hand
- Toes should be pointed straight ahead.
- Raise up on your toes as you lift your heels off the ground (make sure you don’t roll onto the outside of your feet.
- Lower yourself down to starting position.
REQUEST A FREE CONSULTATION
Noticing some aches and pains while lifting at home? Fill out this form and we will contact you to schedule a consultation appointment when we reopen!WANT MORE TIPS?
Anthony is a sports fanatic. Though he is native to So Cal, his favorite team comes from the Burgh (Steelers, Pirates and Penguins). He does have one team from So Cal and that is the best team in L.A., the Clippers. He loves spending time with his wife and four kids aka the 4 puppies. In his spare time, he loves to cook, go the movies, and stays active by lifting weights, playing recreational sports, and hiking with the family.
Latest posts by Anthony DeMonaco, PT, DPT (see all)
- Gym Bag Workout: Arm-Strengthening Exercises - August 17, 2022
- 5 Bed Stretches To Reduce Lower Back Pain - November 09, 2021
- The Gym Bag Home Workout: Legs - March 26, 2020
- House of Cards or House of Pain? – Full Body Workout - February 27, 2020
- Tags:
- Coronavirus,
- COVID-19,
- Exercise,
- Fitness,
- Fun,
- Gym,
- Home,
- Home Gym,
- Home Workout,
- Shelter in Place,
- Weight Lifting,
- Weightlifting
Related Posts
-

- Our Brea Office is Now Open!
-

- CBPT Brea is Moving SOON!
-

- CBPT Company Picnic 2016
-

- Breast Cancer Awareness Month 2015
Reader Interactions
Leave a comment Cancel reply
You must be logged in to post a comment.
SIGN UP FOR
LIFE+ is a FREE membership
that offers:
• Informative Newsletters
• Health & Wellness Tips
• Videos from Our Experts
• Special offers
…and much more!
SEARCH
GET MORE TIPS! PAIN 101 TUTORIALS
EXPLORELATEST TWEETS
ARCHIVES
- October 2025
- September 2025
- February 2025
- August 2024
- February 2024
- November 2023
- September 2023
- July 2023
- June 2023
- January 2023
- November 2022
- October 2022
- September 2022
- August 2022
- July 2022
- June 2022
- May 2022
- April 2022
- March 2022
- December 2021
- November 2021
- October 2021
- September 2021
- August 2021
- July 2021
- June 2021
- April 2021
- March 2021
- February 2021
- January 2021
- December 2020
- November 2020
- October 2020
- September 2020
- August 2020
- April 2020
- March 2020
- February 2020
- January 2020
- December 2019
- November 2019
- October 2019
- September 2019
- August 2019
- July 2019
- June 2019
- May 2019
- April 2019
- March 2019
- February 2019
- January 2019
- November 2018
- September 2018
- August 2018
- July 2018
- June 2018
- May 2018
- April 2018
- March 2018
- February 2018
- January 2018
- December 2017
- November 2017
- October 2017
- September 2017
- August 2017
- July 2017
- June 2017
- May 2017
- April 2017
- March 2017
- February 2017
- January 2017
- December 2016
- November 2016
- October 2016
- September 2016
- August 2016
- July 2016
- June 2016
- May 2016
- April 2016
- March 2016
- February 2016
- January 2016
- December 2015
- November 2015
- October 2015
- September 2015
- August 2015
- July 2015
- June 2015
- May 2015
- April 2015
- March 2015
- February 2015
- January 2015
- December 2014
- November 2014
- October 2014
- September 2014
